A Pictorial Guide to the Tools of the Trade
A violin maker is an atavist—or, as you may know it, a throwback. Mostly ignoring the results of generations of tool and technological advancement, a violin maker is interested in an older tradition, and uses tools that were optimized hundreds of years ago. Ours is a craft that has remained largely unchanged for 500 years. So I can make a violin in a well-appointed shop with band saws, lathes, mills, and jointers (there has been some technological adaptation), but I can also make a violin on a mountainside, without electricity or plumbing.
The hand tools a violin maker uses are special, often specialized, and if you put in the work to shape, sharpen, and use them well, they reveal a surprising truth: It’s almost always faster and more efficient to use the old tools that the Cremonese makers were using, back before all these lovely jointers and CNC tables existed. On a non-industrial scale, the hand tools are less hassle, produce less harmful dust, and are really fun to travel with through the violin-making learning curve.
Other violin makers look for efficiency and cleverness when they see what tools you use to build your instruments, and part of learning how to make a violin is spent understanding how each hand tool will ideally work. My first teacher, Peter Prier, hit the nail on the head with the first rule he taught me: Always use the biggest tool for the job.

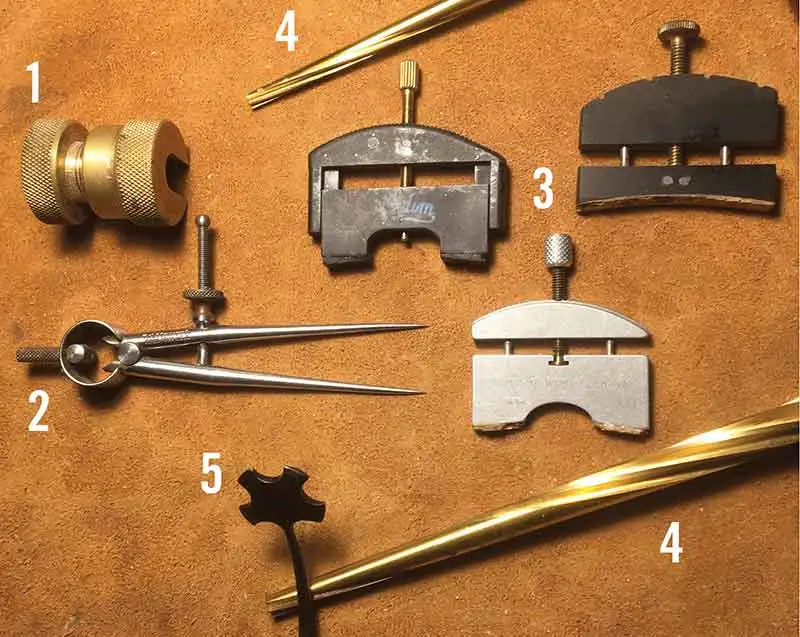
Big P was a big, strong guy, and he hated to see violin-making students fussing with tiny tools for shaping and refining the plates of instruments. Get used to the biggest tool whose shape will remove wood the way you want it to, and you save time—and keep yourself fit to boot. Here are a few of the specialized tools I use to build my violins, violas, and cellos.
Full Article By Christopher Jacoby
